Getting out into the great outdoors brings positive and healthy energy to your life. And, if you’re a keen landscape photographer, you will have an extra incentive to tear yourself away from the computer screen and go exploring.
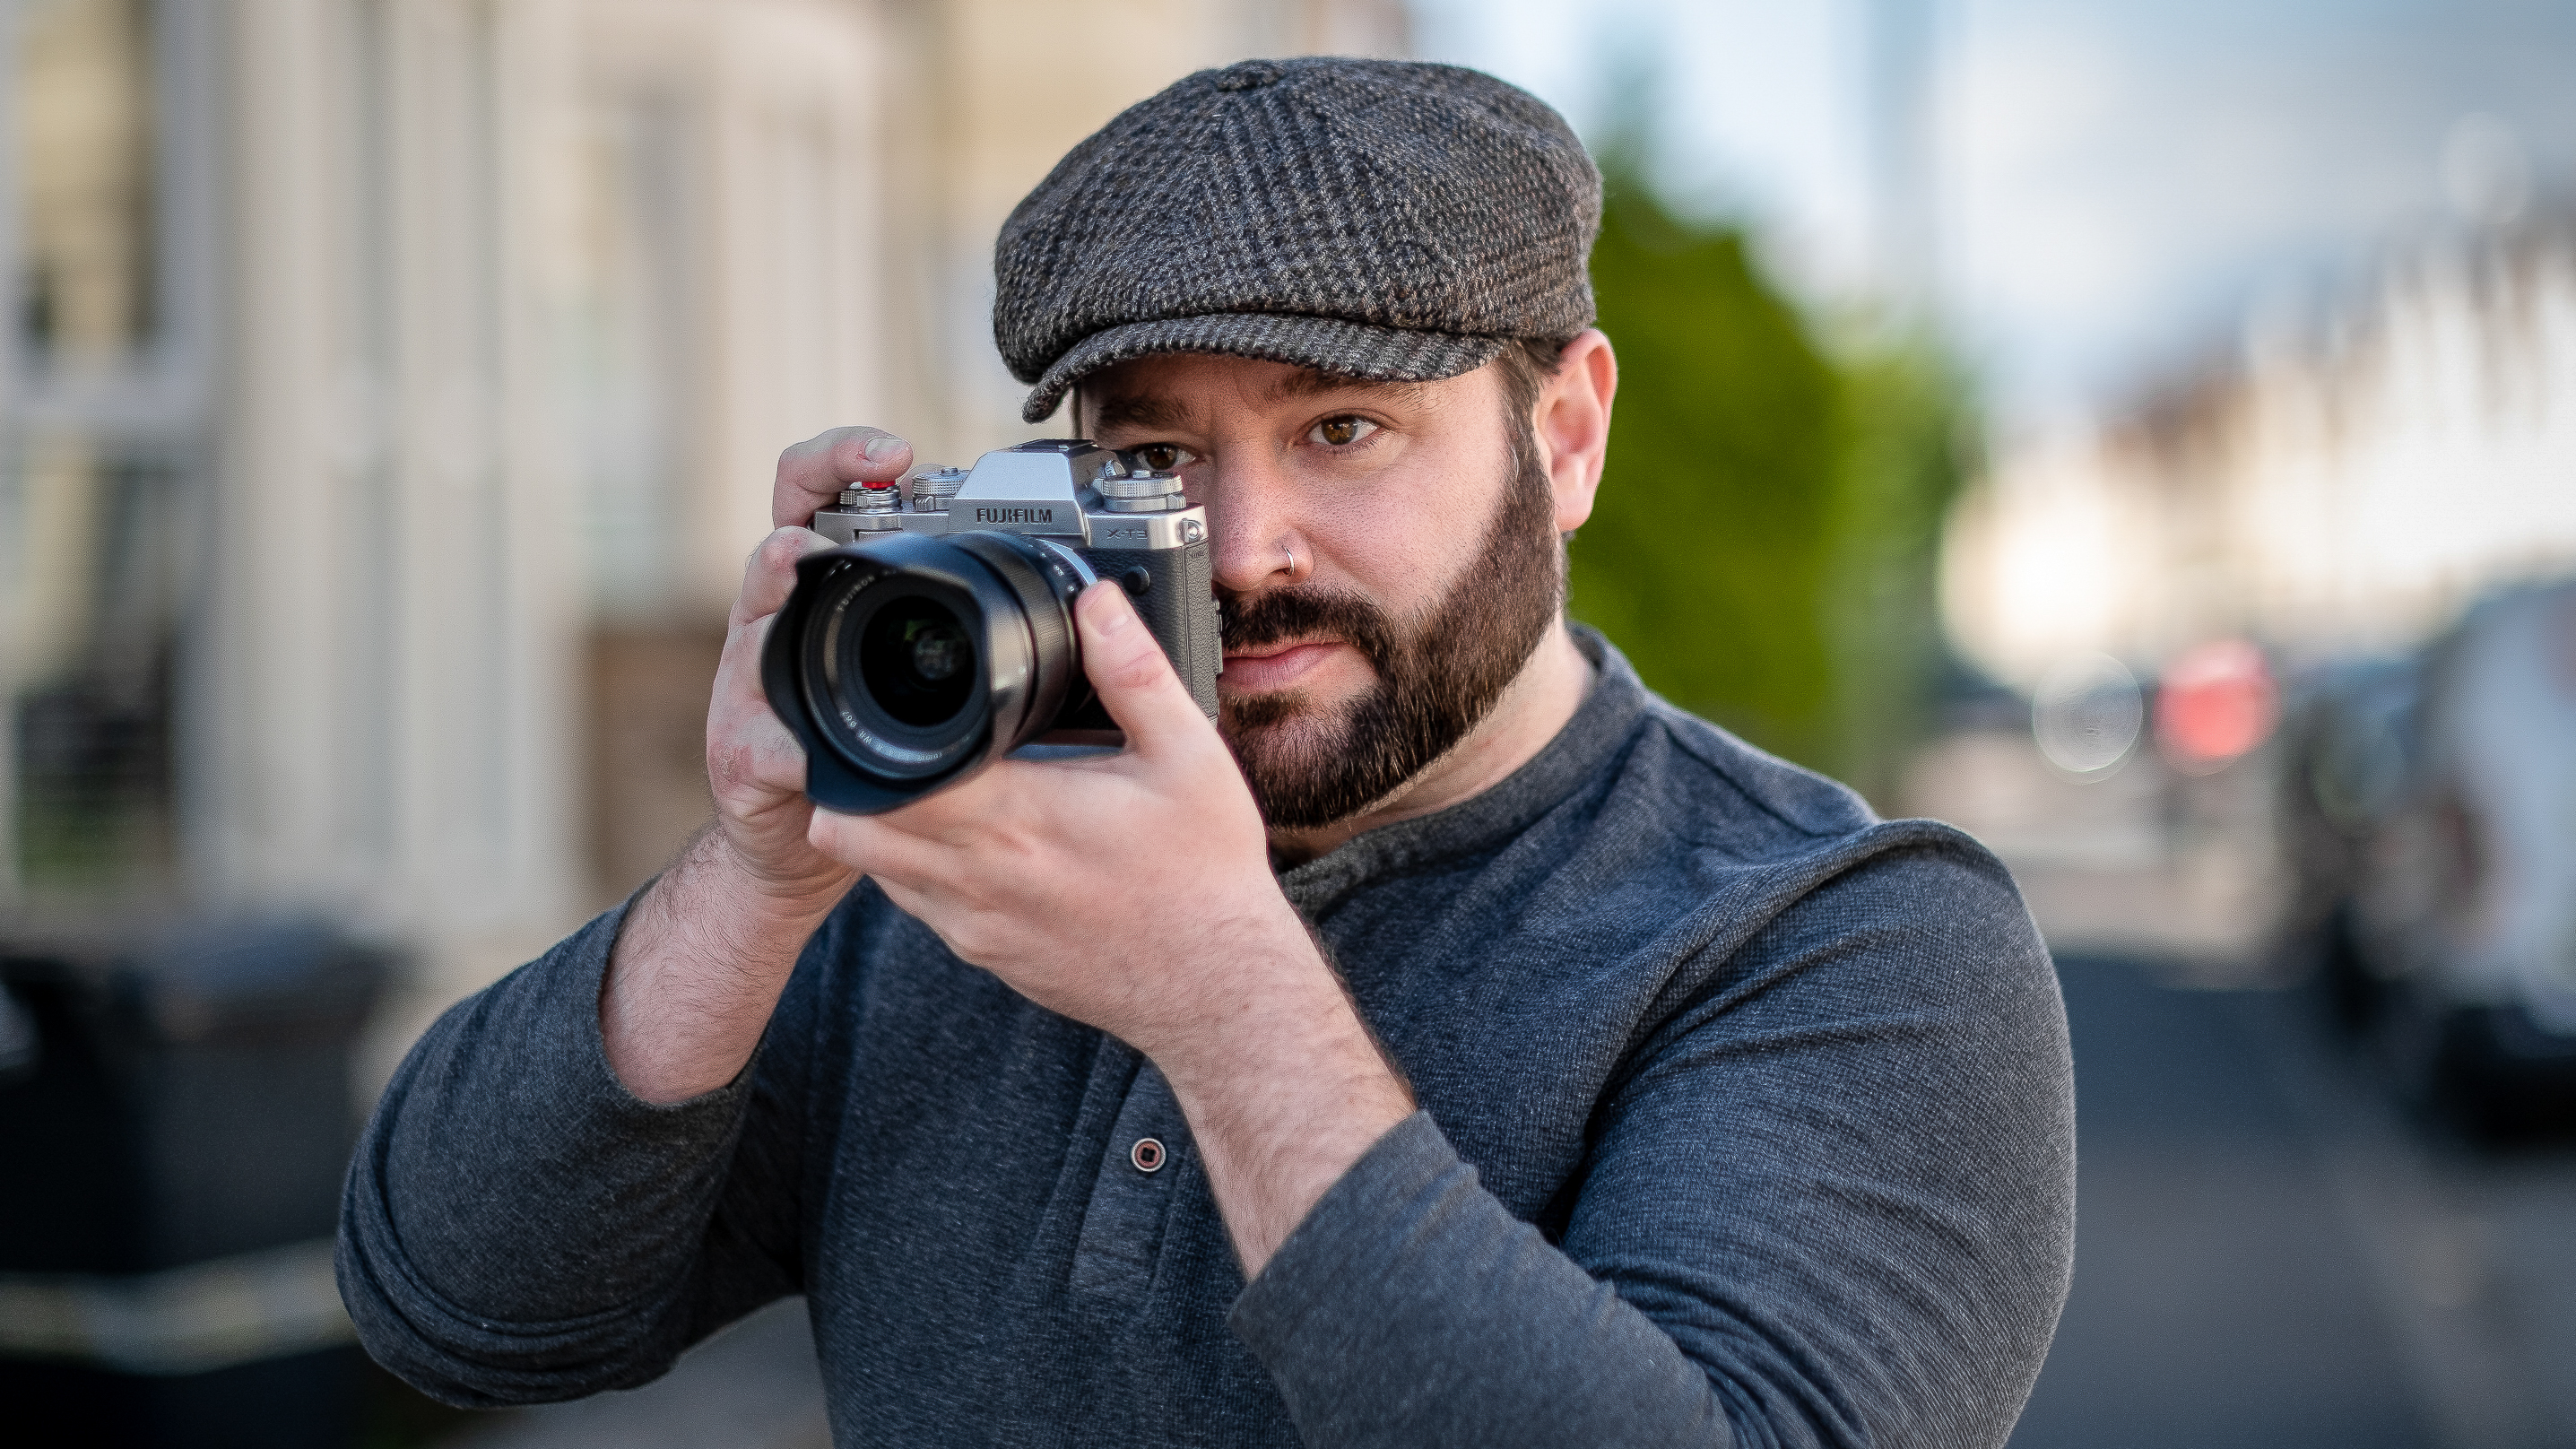
However, carrying lots of kit can be quite cumbersome so, today, I’ve decided to travel light, packing just my compact Fujifilm X100V and a Manfrotto Pixi Evo mini tripod for stability. I often attach my camera to the mini tripod, sling it over my shoulder and begin my trek to my desired shooting location. I’m aiming for Crook Peak,
a small rocky formation popular with walkers in Somerset’s Mendip Hills in the UK.
• When is the best time to go out and shoot landscape photos?
Believed to have been the site of a beacon to signal the arrival of the Spanish Armada on the West Country coast , it’s a fairly easy walk of around five miles in total, starting from the King’s Wood car park just off the A38. The peak itself is 627ft and offers a variety of compositions.

Shooting landscapes with foreground

1. Set up your shot
Get low to the ground: at the outset this will naturally give your frame more foreground. You might feel slightly limited with the placement of your tripod but you can use the ball head to make sure your horizon is level. Most modern cameras can display a digital horizon to help you set the camera straight and level, and the gridline overlay is also a useful guide.

2. Focus on the foreground
Typically, we tend to put the focus on the mid-point of the scene – or the main subject, if there is one – but here I’m choosing to focus on the rocks in the closest part of the shot. Even at f/16, this will leave your background slightly softer – a pleasing aesthetic used in many photographic genres. Either auto or manual focus can be used here – both work equally well.

3. Close down your aperture
While there isn’t one ‘correct’ aperture setting for landscape photos, there are some best practices. You’ll want to lean more towards the higher ranges (such as f/16 to f/22, but beware that the latter causes light refraction.) Narrower apertures like these let less light into the camera, enabling longer shutter speeds.

4. Capture the landscape with minimal gear
When travelling light, it’s good to know what you want to shoot before you arrive. You can often see a landscape from Google Maps or view examples of photographs taken in the area by searching online. From here, you can determine which lens would suit the scene best. My Fujifilm X100V has a fixed lens of 23mm, so this allows me to photograph the peak with enough width to do the location justice. You can shoot landscapes handheld, but when I’m shooting low to the ground, I find a mini tripod helpful – not only to help with stability when using slower shutter speeds, but also in framing up my composition.
Be sure to see this Award-winning landscape photographer shares the camera kit he can't be without, and the check out the best Fujifilm X100V deals